Finishing Touches: Handmade Pins and Patches
Cross-stitching is great and everything, but what do you do once you’ve completed a pattern? How do you display it? Do you want to turn your project into something new? Do you frame it or keep it in the hoop? The Finishing Touches series is here to help you decide what to do with completed projects and teach you some of my methods in doing so.
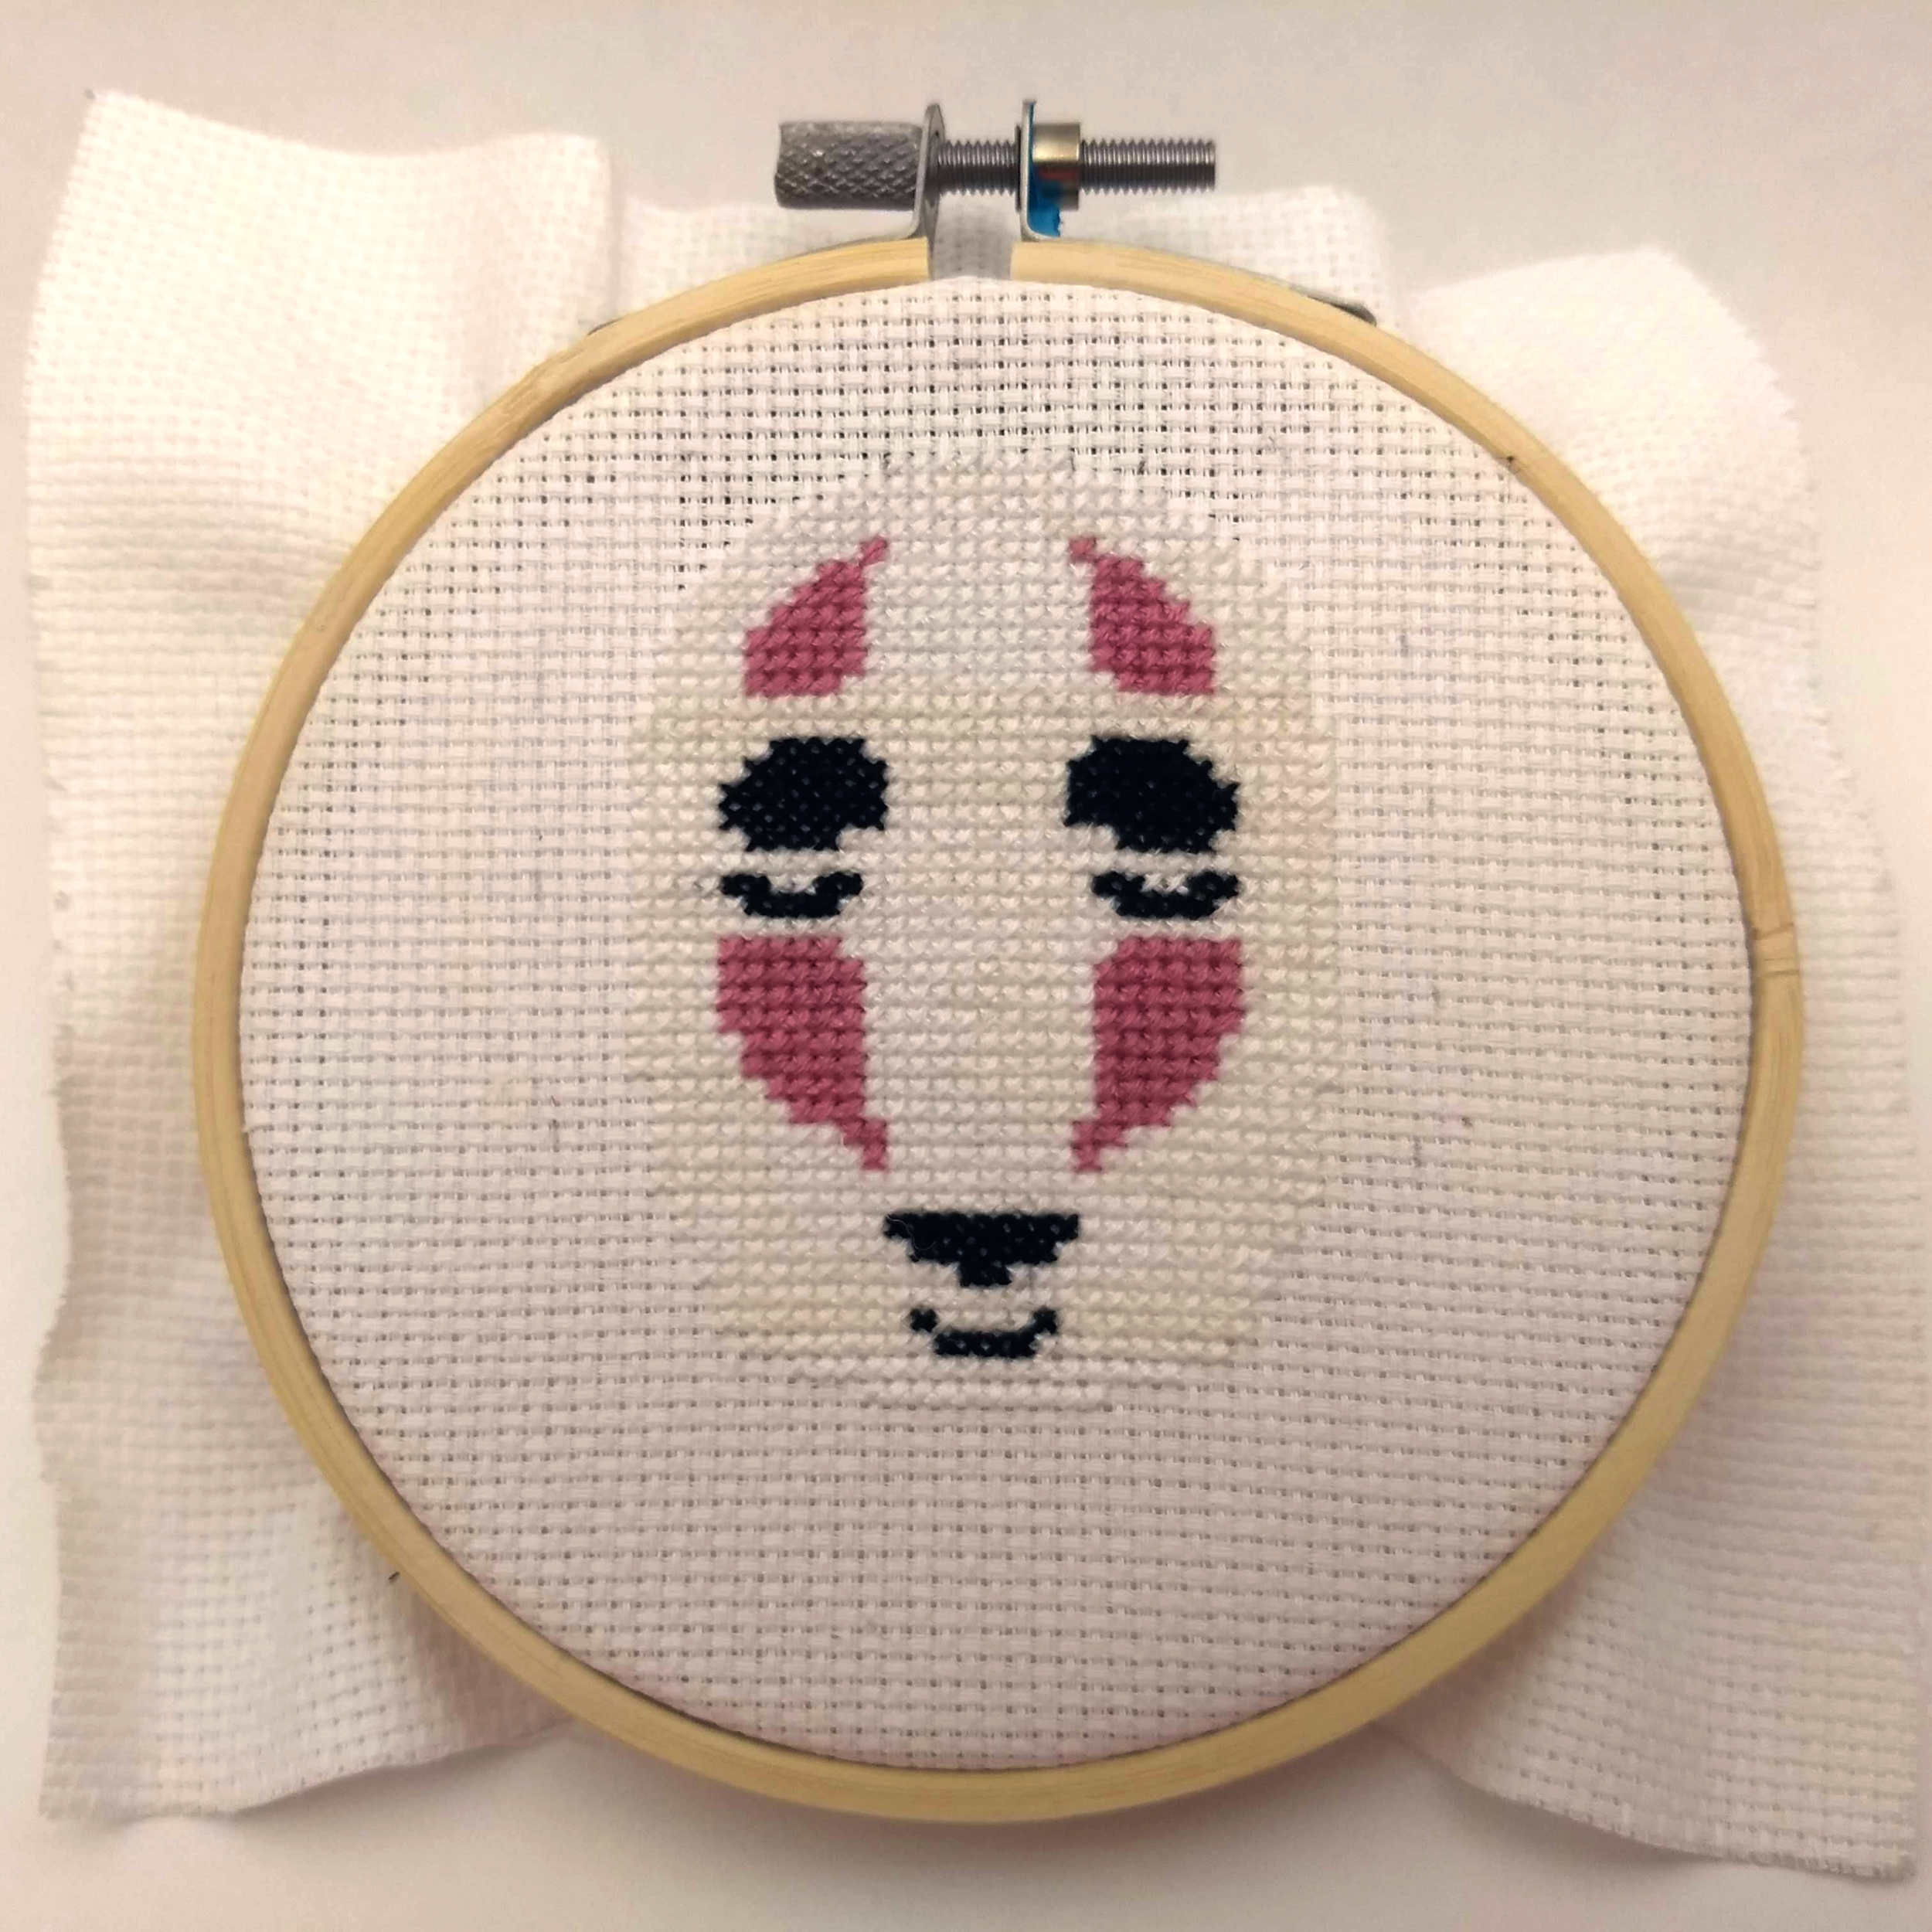
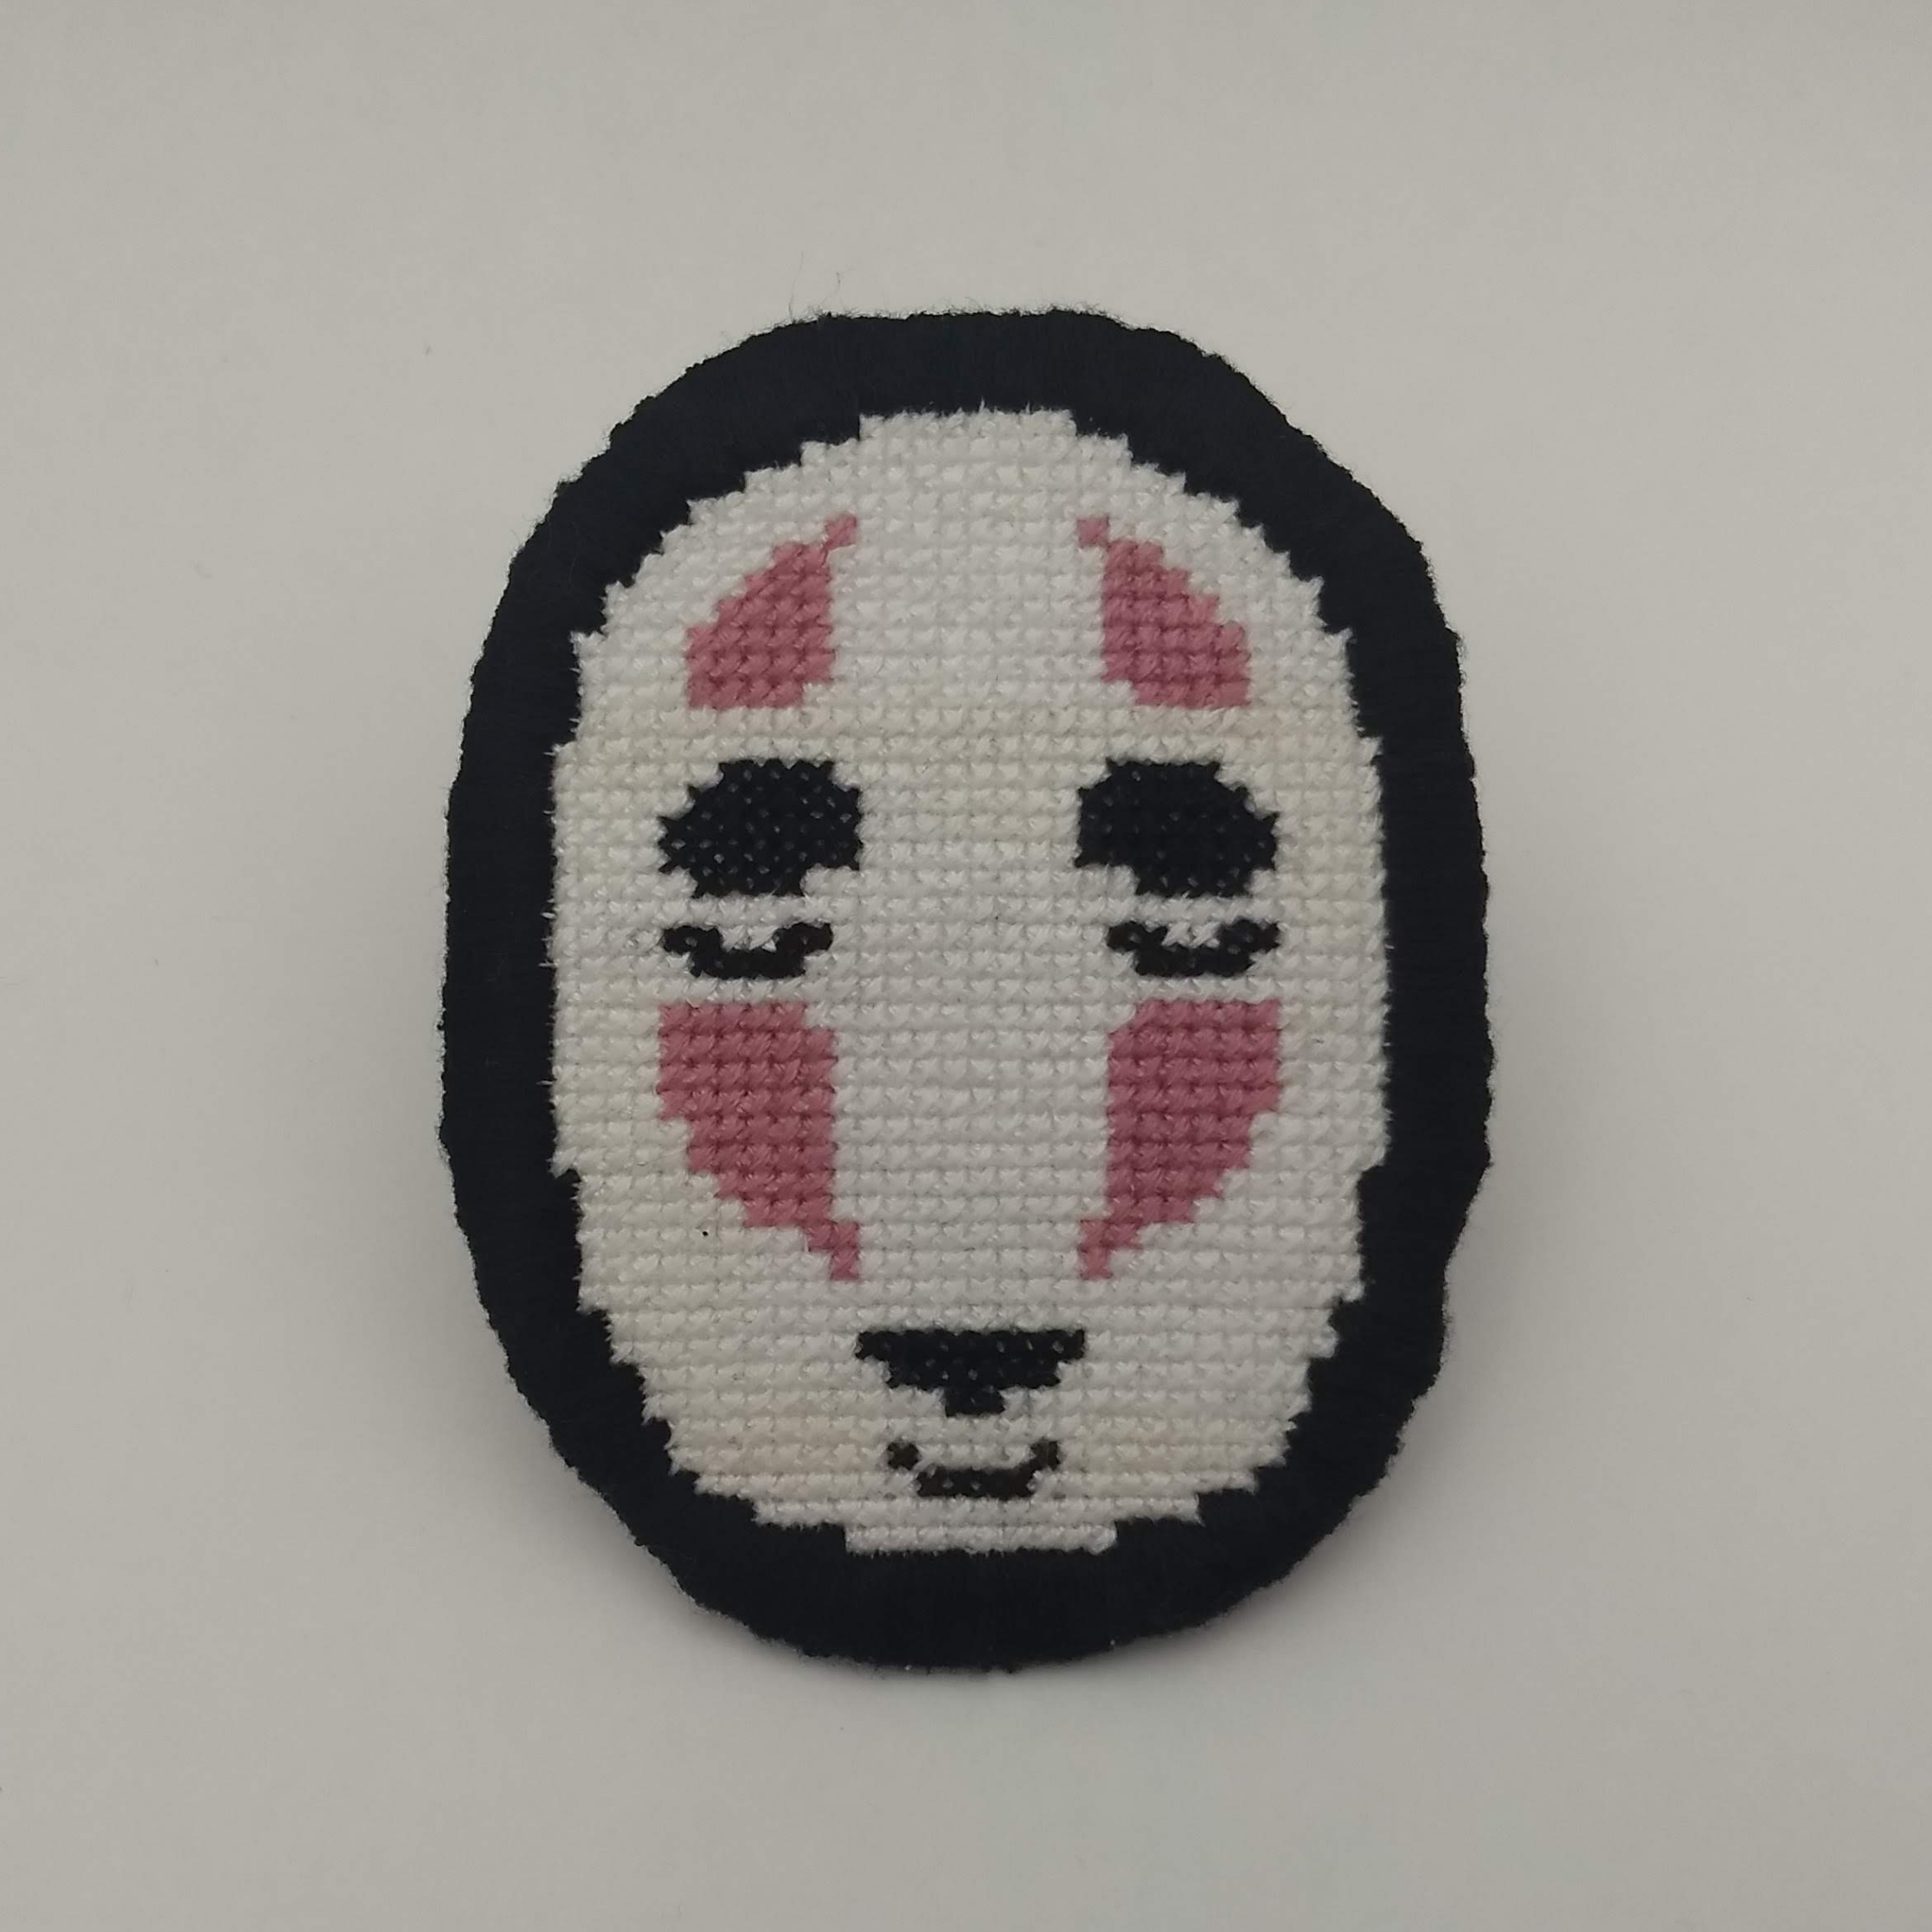
This post will teach you how to turn finished patterns into a pin or patch for display on your favorite jacket, backpack, or other coveted spot for you to display on the go. The method is perfect for patterns three inches or smaller in size, although you can certainly finish larger products this way. I’m demonstrating most of this process using my No Face pattern, which I designed specifically to be finished with a thick black border. It took me approximately three hours to create the border for this pin, which measures 2.25” x 3”. (For larger projects, expect a much longer work time). Let’s get stitching!
supply list
Your finished pattern
Disappearing ink marker—some markers are water-soluble, which require washing for the ink to disappear, while other markers are air-soluble and disappear without being washed.
Fabric scissors
Fusible interfacing
Stiffened felt—this offers more stability to your finished pin or patch than standard felt.
Fray check
Sewing needle
Embroidery floss
(Optional) 1” bar pin
cutting out your pattern
Before you trim or cut anything out, you need to decide how thick your border is going to be. I used four squares on the Aida cloth to roughly measure my border. Use your marker to mark the border thickness regularly around the completed pattern. You can do this while the pattern is still in the embroidery hoop or once you’ve taken it out.
Take the fabric out of the embroidery hoop.
Apply fray check around the border guidelines you marked earlier. Don’t use so much that it spreads to your pattern (but don’t worry if it does—it dries clear), but leave some room for flexibility if you need to trim the border down. Allow the fray check to dry for 15-20 minutes.
Note: if your markings disappear when you apply the fray check, mark them again once it has dried.
Use your fabric scissors to cut the pattern out along the border guidelines.
pin or patch?
Now is the time to decide whether you want to turn your project into a pin or a patch. Pins, like the No Face pin we’re creating for most of this post, are great if you want to cycle through projects and patterns as you want to. On the other hand, patches use adhesive to stick to what you apply them to, so it’s important to be sure about where you want to place them.
The methods for creating both are nearly identical, but this is where they start to differ.
for a pin:
ASSEMBLING THE PIN
Trace your cut-out pattern once onto both your stiffened felt and your fusible interfacing.
Follow your interfacing’s instructions to iron it onto the felt.
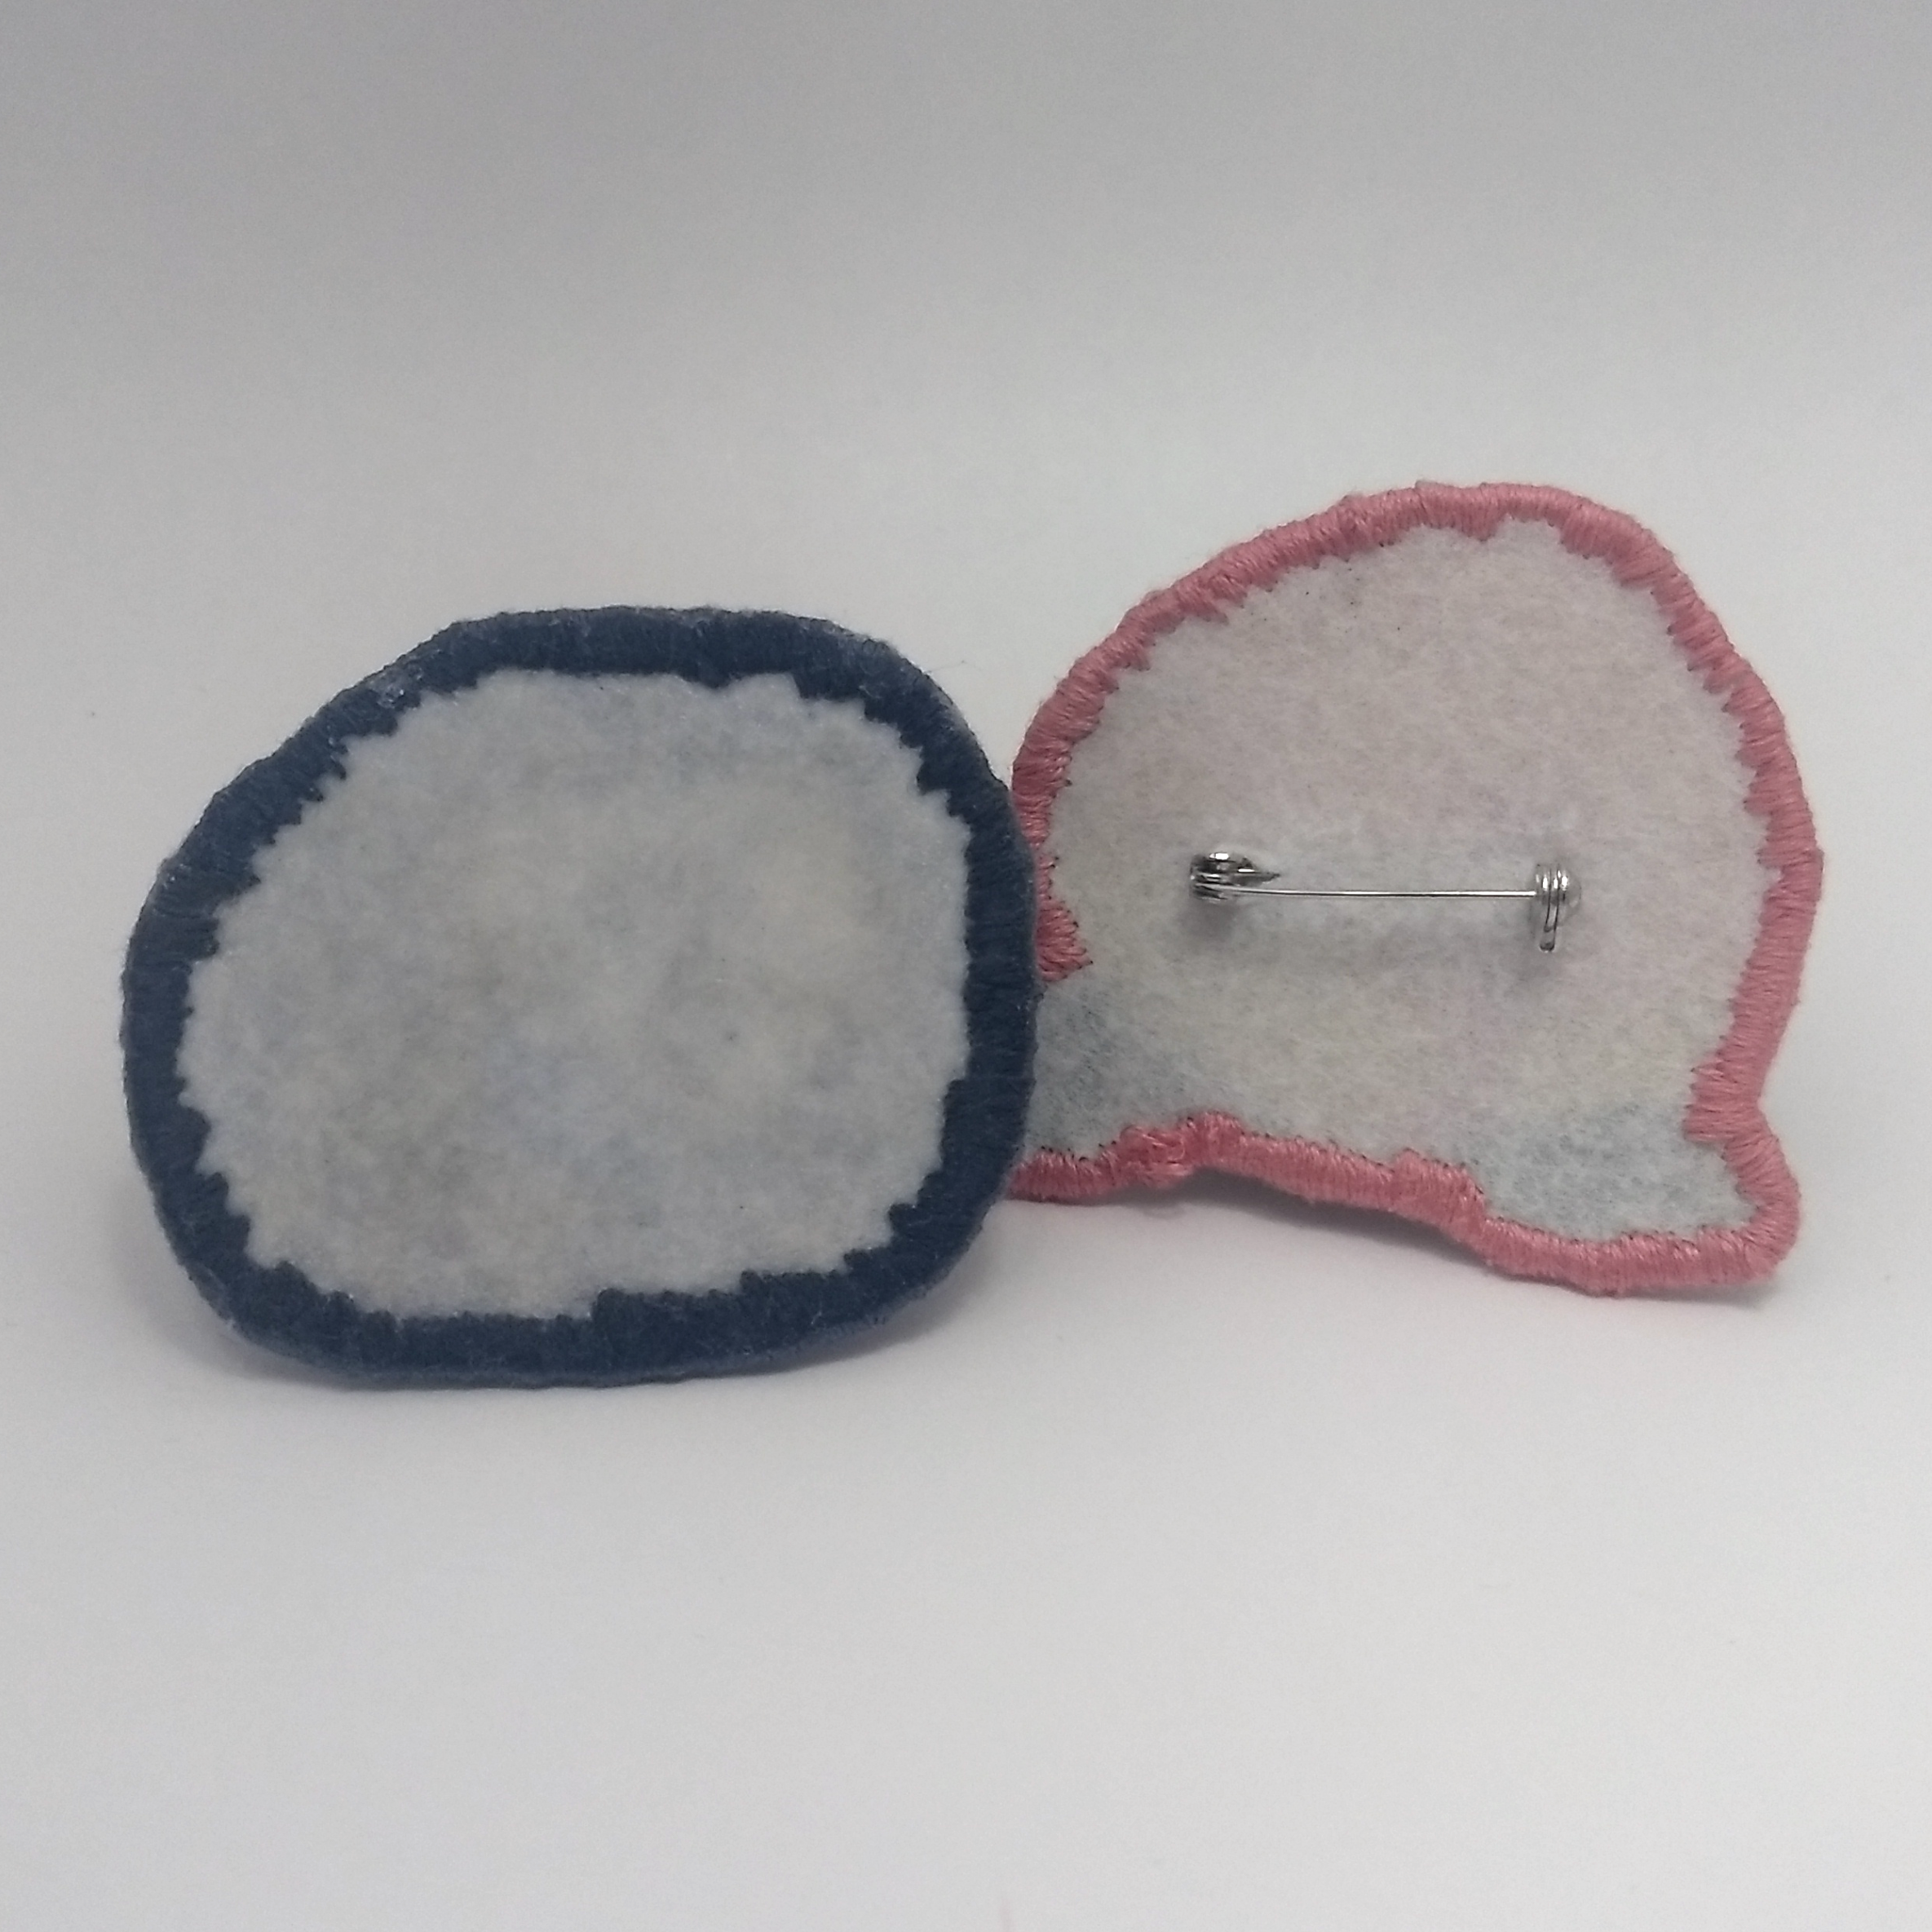
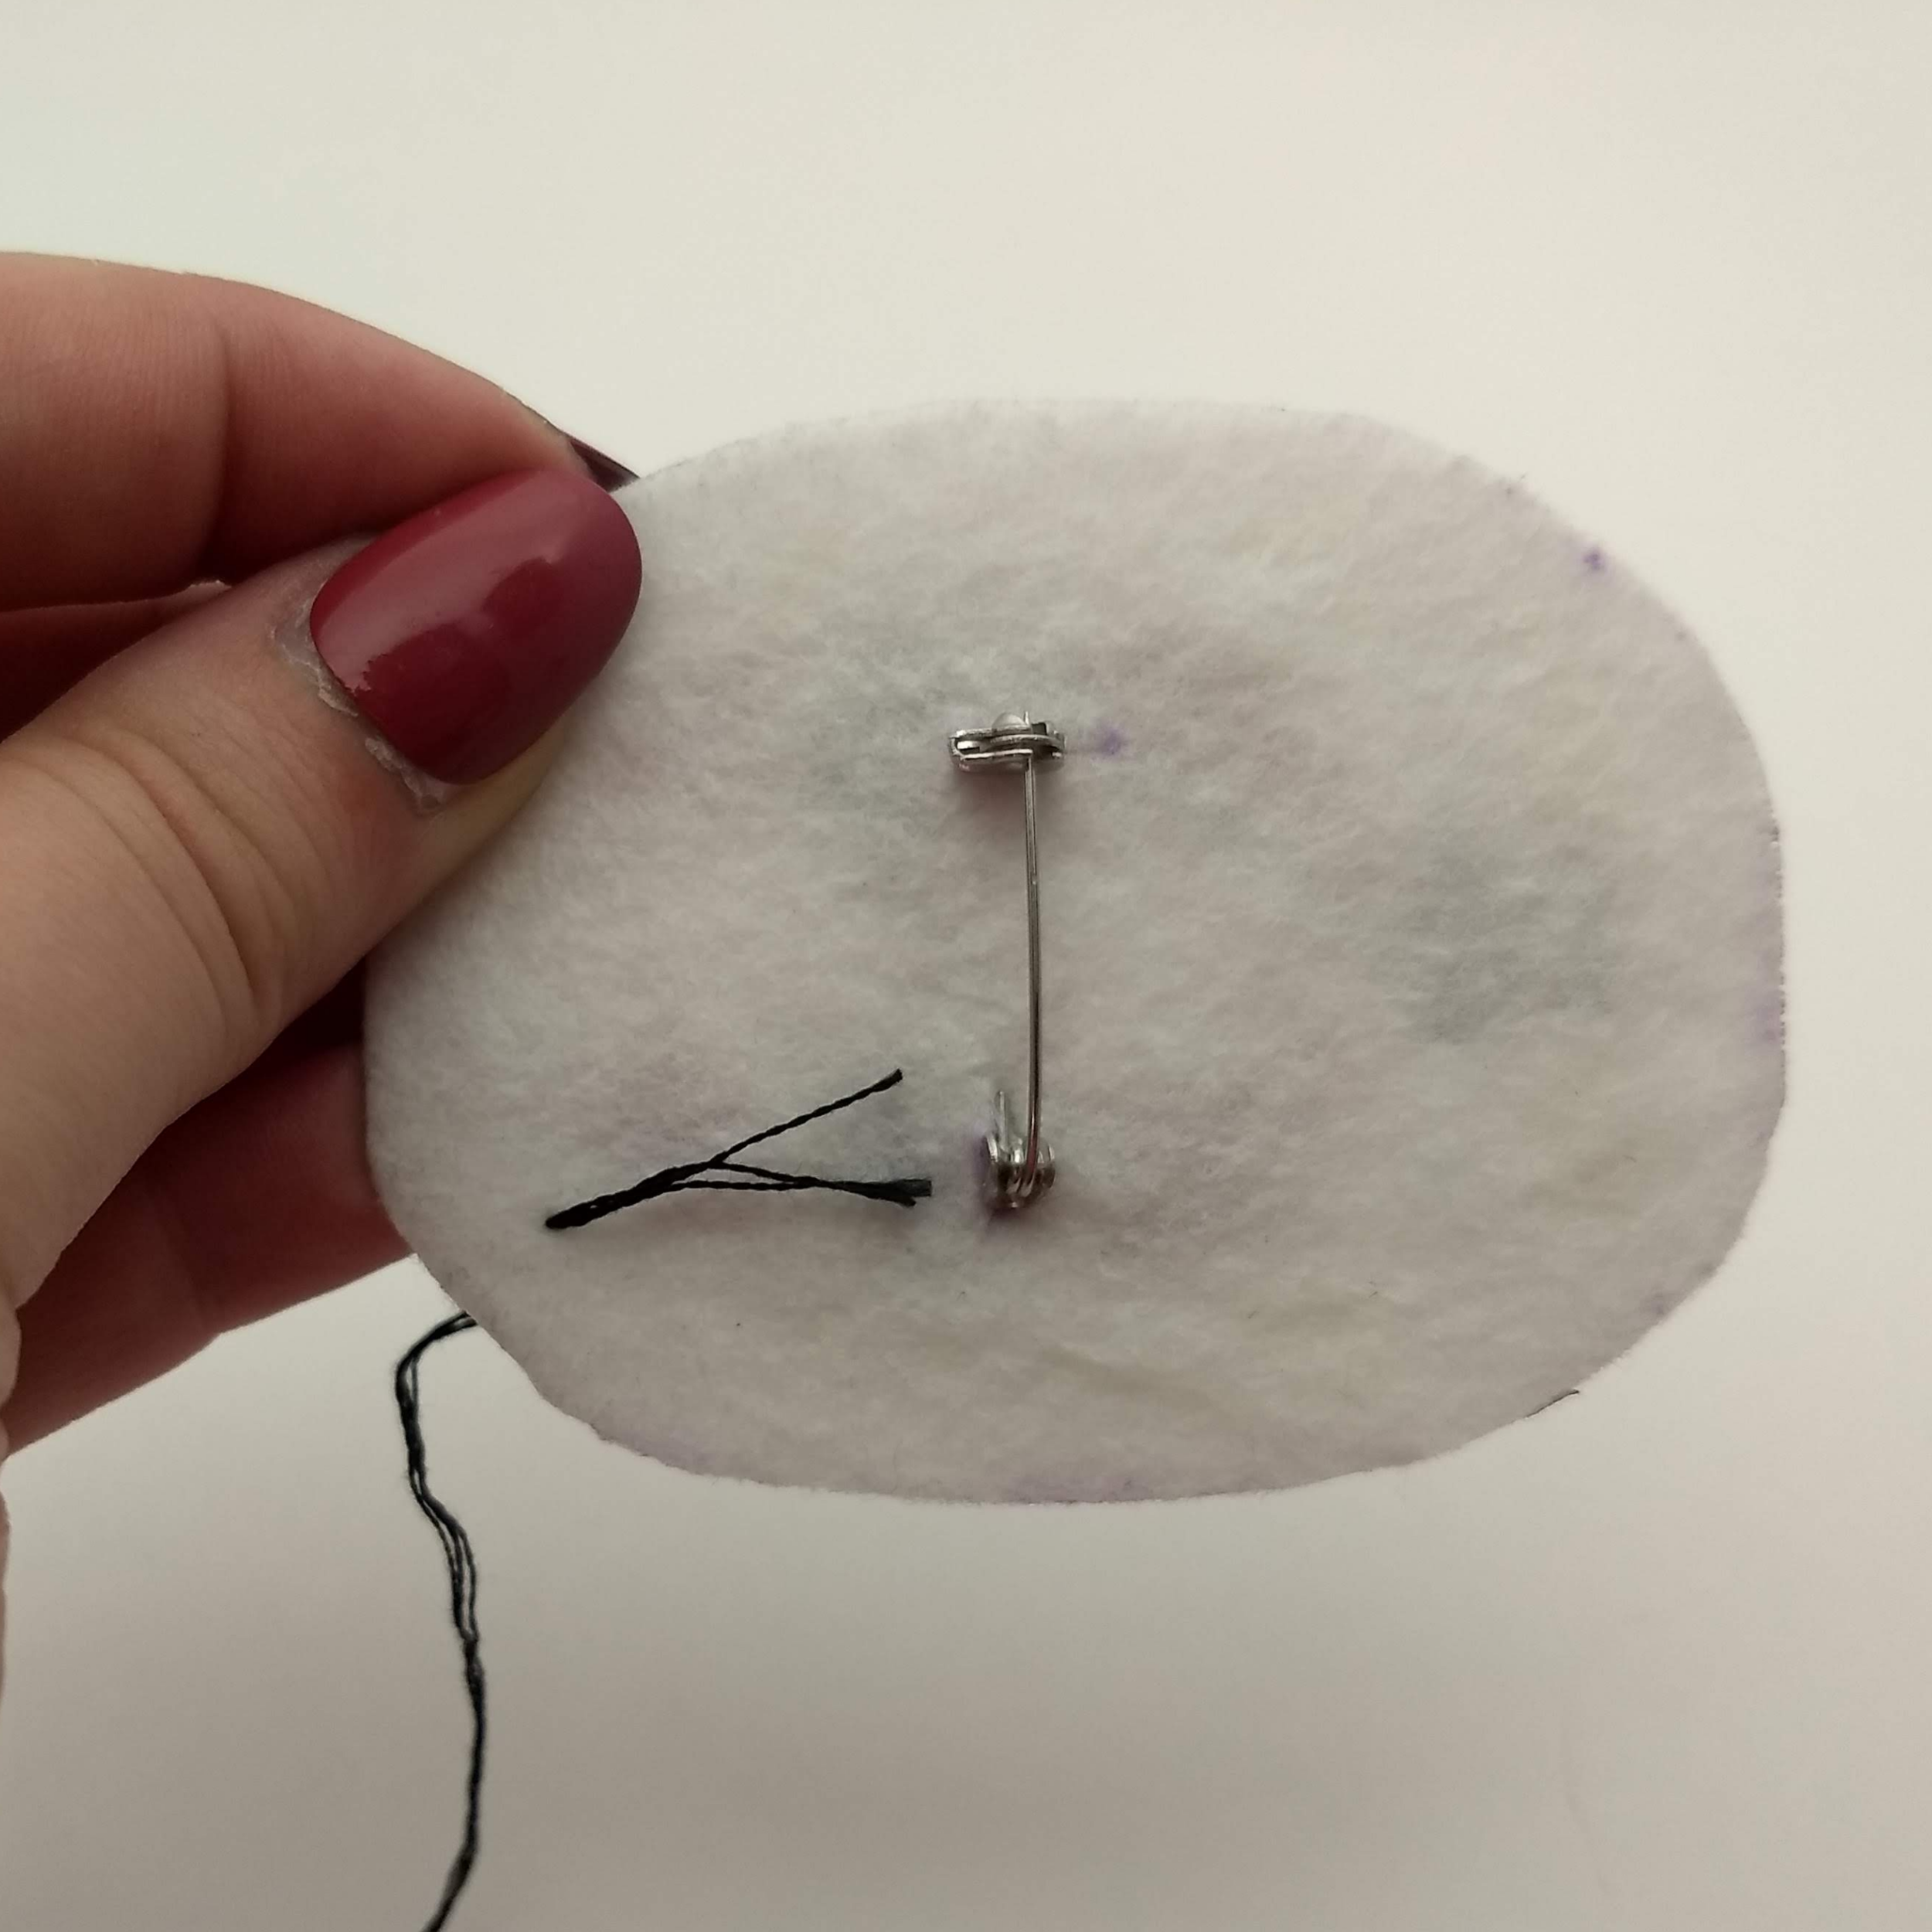
It’s time to add the pin! I tried a few methods for this, and I found that this was the most secure. (Don’t ask me about how the hot glue test went.) Place your bar pin onto the reinforced felt with the adhesive side down. Use your marker to make dots at the top and bottom of the rounded end and to the side of the pin end.
Connect the dots with your marker and cut slits into the guides you just created.
Pull your bar pin through the felt. Try to get it through without making your slits longer, as you won’t be able to fill them in. Also, be sure to get both the long and short sides of the pin end through the felt. Click on the pictures to the side to see what I mean.
Keep the pin open and lay it onto your pattern with the adhesive side facing down and the back of your pattern facing up. Follow your interfacing’s instructions to fuse the two pieces together, paying close attention to the edges of the pattern.
Trim away excess felt if necessary.
FINISHING THE BORDER
Prepare yourself for the longest part of this process. Use three threads of embroidery floss to thread your needle.
Anywhere along the pattern, bring your needle from the back to the front of the piece directly next to the pattern. Don’t pull all the way through and leave a short tail of excess embroidery floss.
Pick a point directly next to where your thread comes through and push your needle back to the back side of the piece, creating a small stitch. Be careful not to go through the same point you came up.
Next to the stitch you just made, bring your needle from the front to the back of the fabric, wrapping around the border and creating your first stitch. Continue this process until you run out of thread, being sure to tuck the tail of your thread from earlier in the stitches to hide it.
When you run out of thread, cut the excess to about 1/2” long and repeat steps 1-4 until you’ve sewn along the entire border.
Almost done! Once there is no Aida from the project showing through your border, use your threaded needle to go under a couple of strands of the border on the backside of the project, creating a loop.
Pull your needle through the loop to create a knot. Repeat.
Use your fray check to secure the knot and ensure that it does not come undone.
With that, your pin is complete! Wear it with pride and impress your friends every time you say “You like this? Thanks, I made it!”
This is what your finished pin should look like:
for a patch:
Like I mentioned earlier, the patch-making process is very similar to the pin-making one. Most of these steps will refer to those listed above, but I’ll include the differences here.
Once you’ve cut out your pattern, trace it once onto your stiffened felt and twice onto your fusible interfacing. For the second piece of interfacing, flip your pattern over and trace it so you have its mirror image. Follow your interfacing’s instructions to apply the first piece to your stiffened felt.
Fuse your reinforced felt with the backside of your pattern.
Follow all instructions under the “Finishing the Border” section above.
Using your mirror-image piece of interfacing, fuse your interfacing onto the backside of your finished patch, allowing it to cool and peeling it off carefully to make sure it attaches to the felt evenly.
that’s all there is to it!
I was really intimidated the first time I attempted to create a pin. I had no idea what I was doing, and I couldn’t find any tutorials online that addressed exactly what I was trying to do. Several months and one crucial discovery of fray check later, I figured out the best way to assemble my own pins and patches, and I couldn’t be happier. If this tutorial was helpful for you, tag me in your finished products on Instagram @stitchbound. If you have questions, let me know in the comments below, and I’ll do my best to answer them.
Thank you for reading!


